
Pop-ups allow you to highlight news, events, promotions, and more on your web pages. Pop-ups can also feature forms, videos, or images! As you build your pop-up, you can see your changes in real-time in the Pop-Up Builder.
Navigate to the Pop-Ups by clicking the MARKETING option located within the menu on the left side of your account
Click POP-UP BUILDER at the top
Click the NEW button to start creating a new pop up!
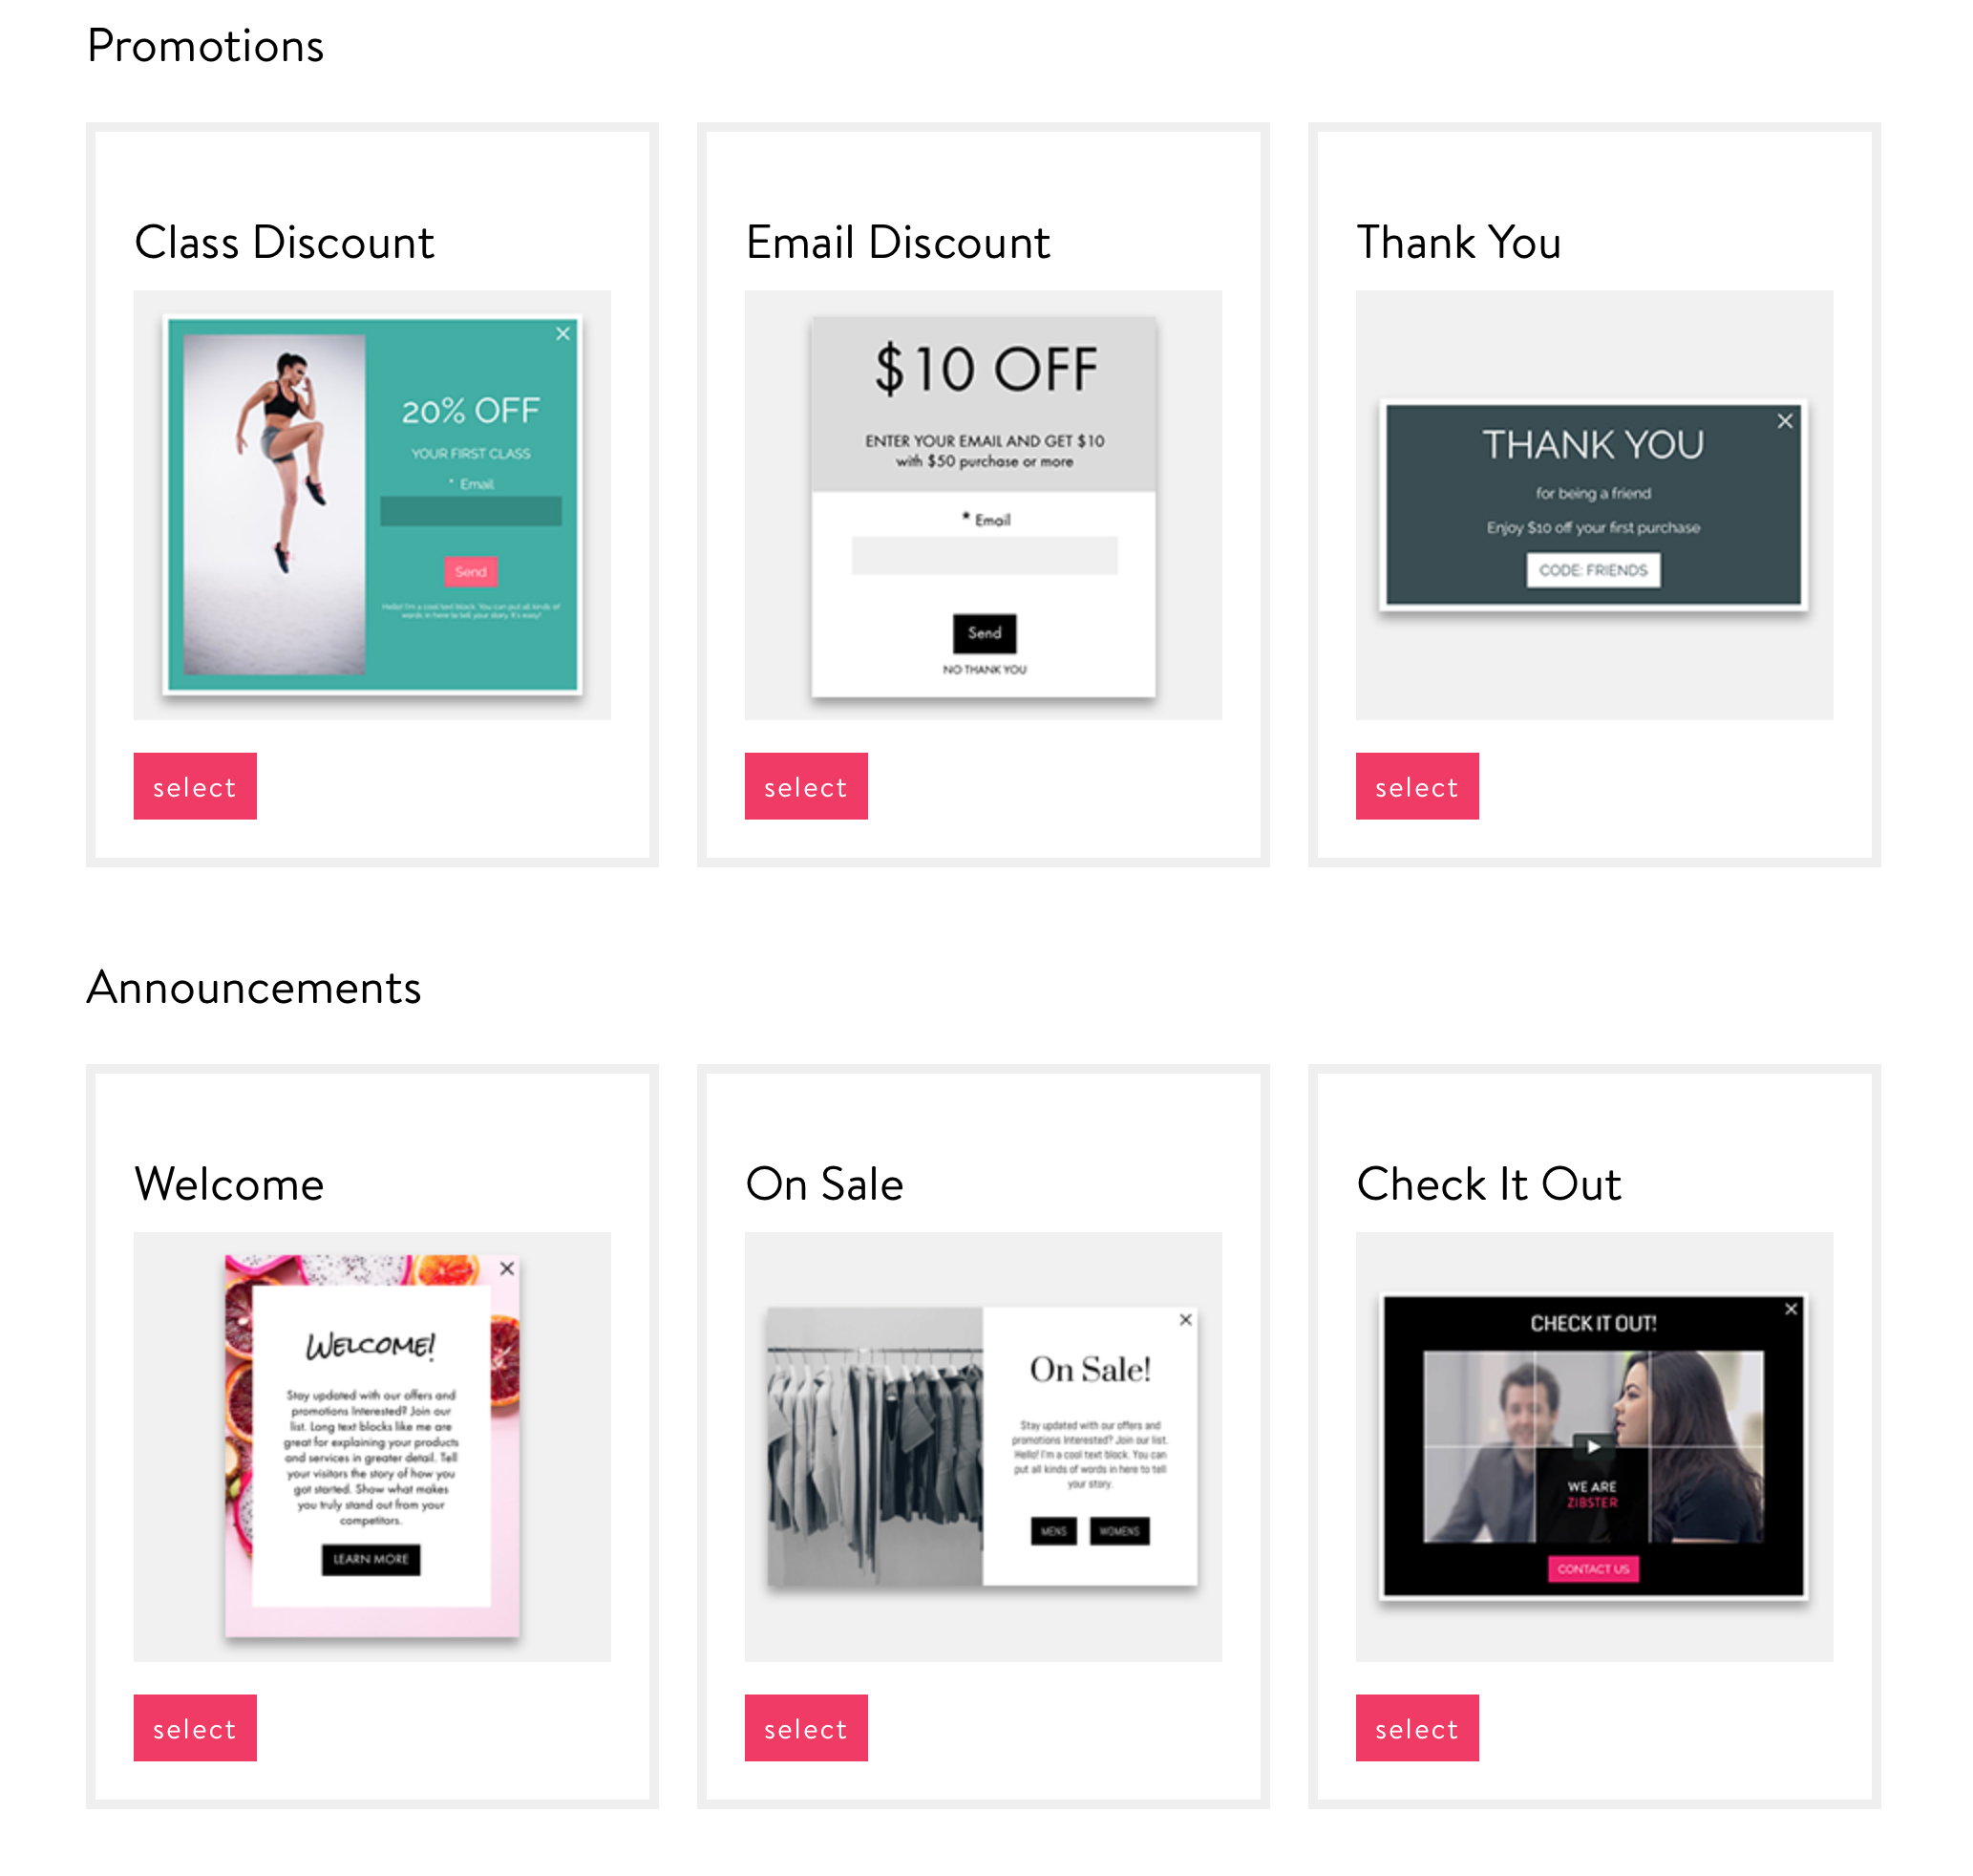
1. SELECT YOUR LAYOUT
Be mindful of the layout you choose for your pop-up, this is the first and one of the most critical steps of setting up your pop-up. Depending on the layout chosen, you will see different combinations and arrangements of elements such as text, buttons, videos, images, and forms for your pop-ups. The layout you choose should depend on what elements you want in your pop up and how you want them arranged with one another. For instance, if you want your pop-up to feature an image, make sure to select a layout that has an image element and not a video element.
2. ADD TEXT
All of the layouts have a text element. The text element allows you to enter a title, description, and disclaimer for your pop-up. The title will appear largest, the description supports more characters of text, and the disclaimer allows you to add smaller text at the bottom of your pop-up.
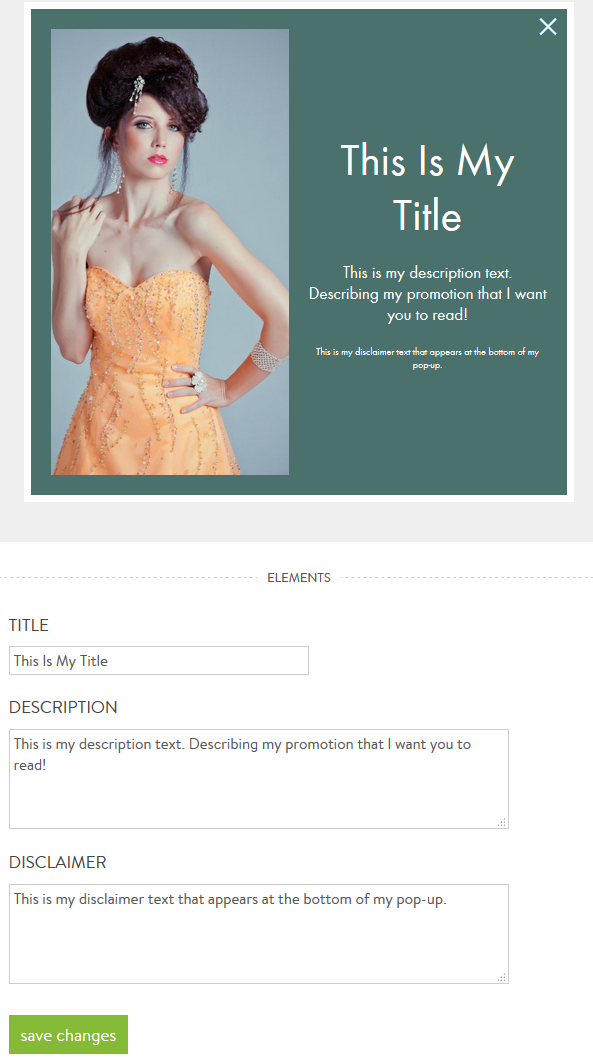
Click save changes to apply your text.
3. IMAGES, VIDEOS, FORMS, AND BUTTONS
Depending on the layout you choose, you will have the option to display a different combination of an image, video, buttons, or a form on your pop-up.
IMAGES
On layouts that support images, you will find that you can add one image to the pop-up. The location of where the image displays will depend on the layout chosen.
VIDEO
If using a layout that supports video, you will need to provide the embed code for the video you wish to display. In order to do this, your video will need to be uploaded to a video hosting site such as YouTube or Vimeo.

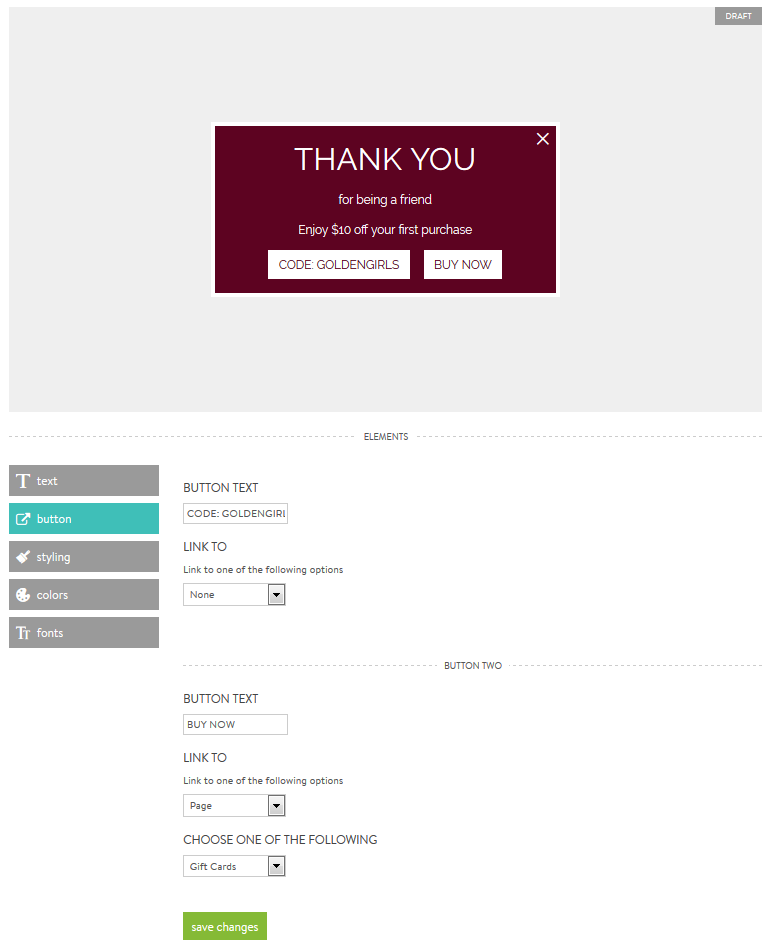
BUTTONS
On layouts that support buttons, you will find that you can choose to display one or two buttons, each connecting to a different area should you choose.
FORMS
You can use forms for users to quickly subscribe to an email list or send you a message. The forms available directly correlate with the Form Builder on your account.
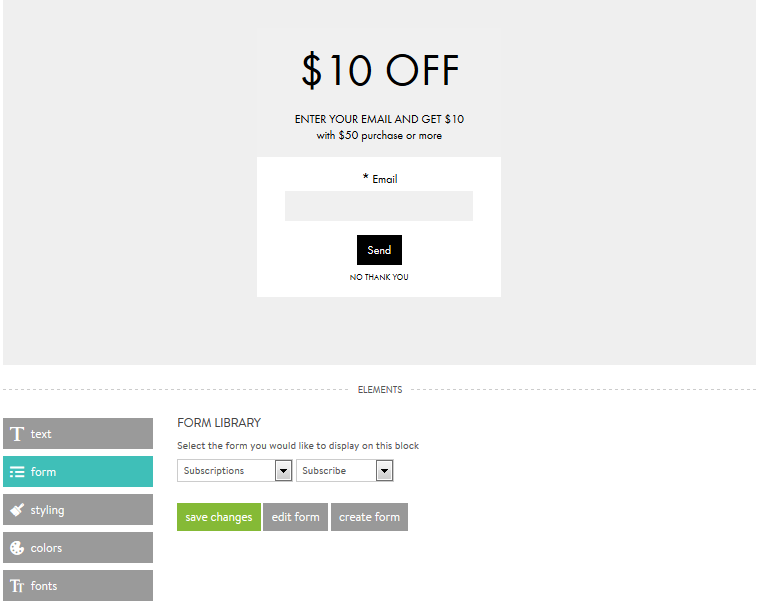
Make sure to click save changes in each section to save your work!
4. STYLING
The styling section determines how your pop-up will display on a page.
OVERLAY
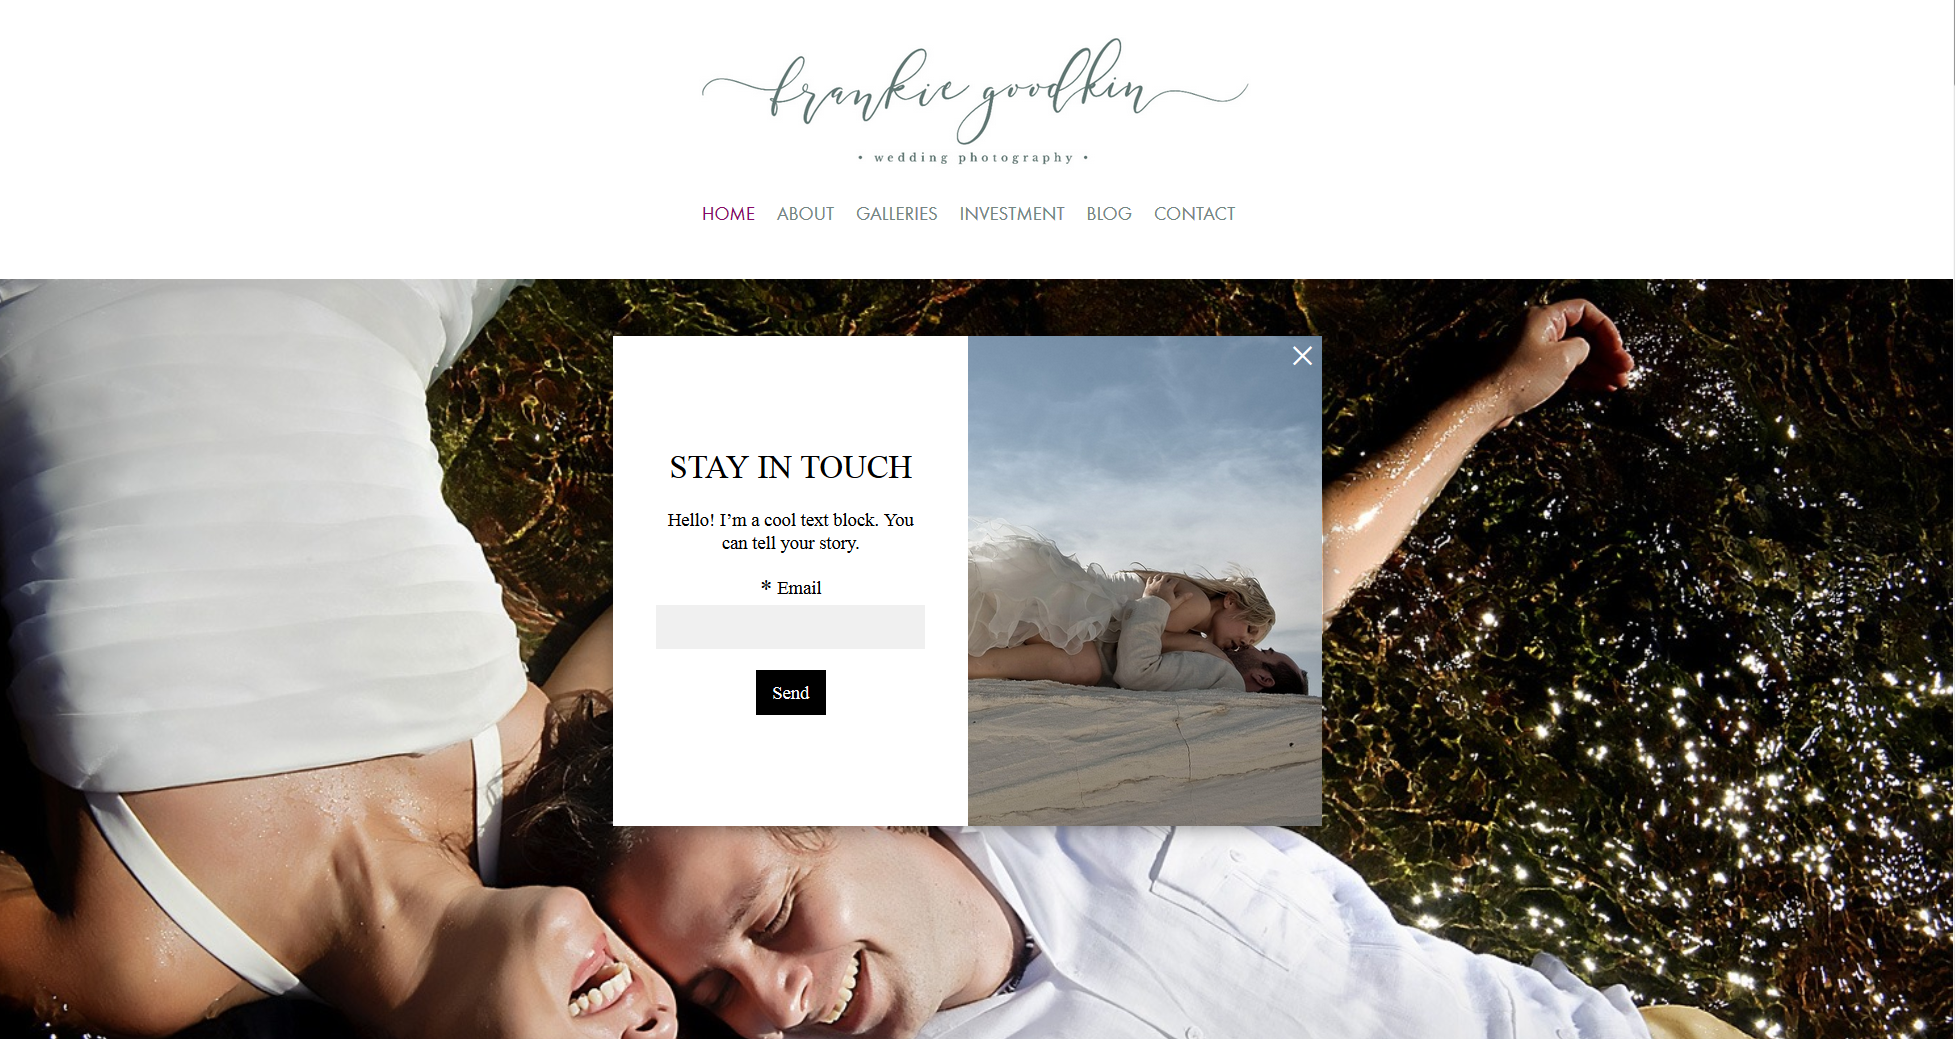
If you turn the overlay option on, your pop-up will lay over the content when displaying on a screen. A user will not be able to navigate your website until the pop-up is closed.


If you turn the overlay option off, your pop-up will appear with a drop-shadow behind it. Users can still navigate the website without closing the pop-up.
PRO TIP!
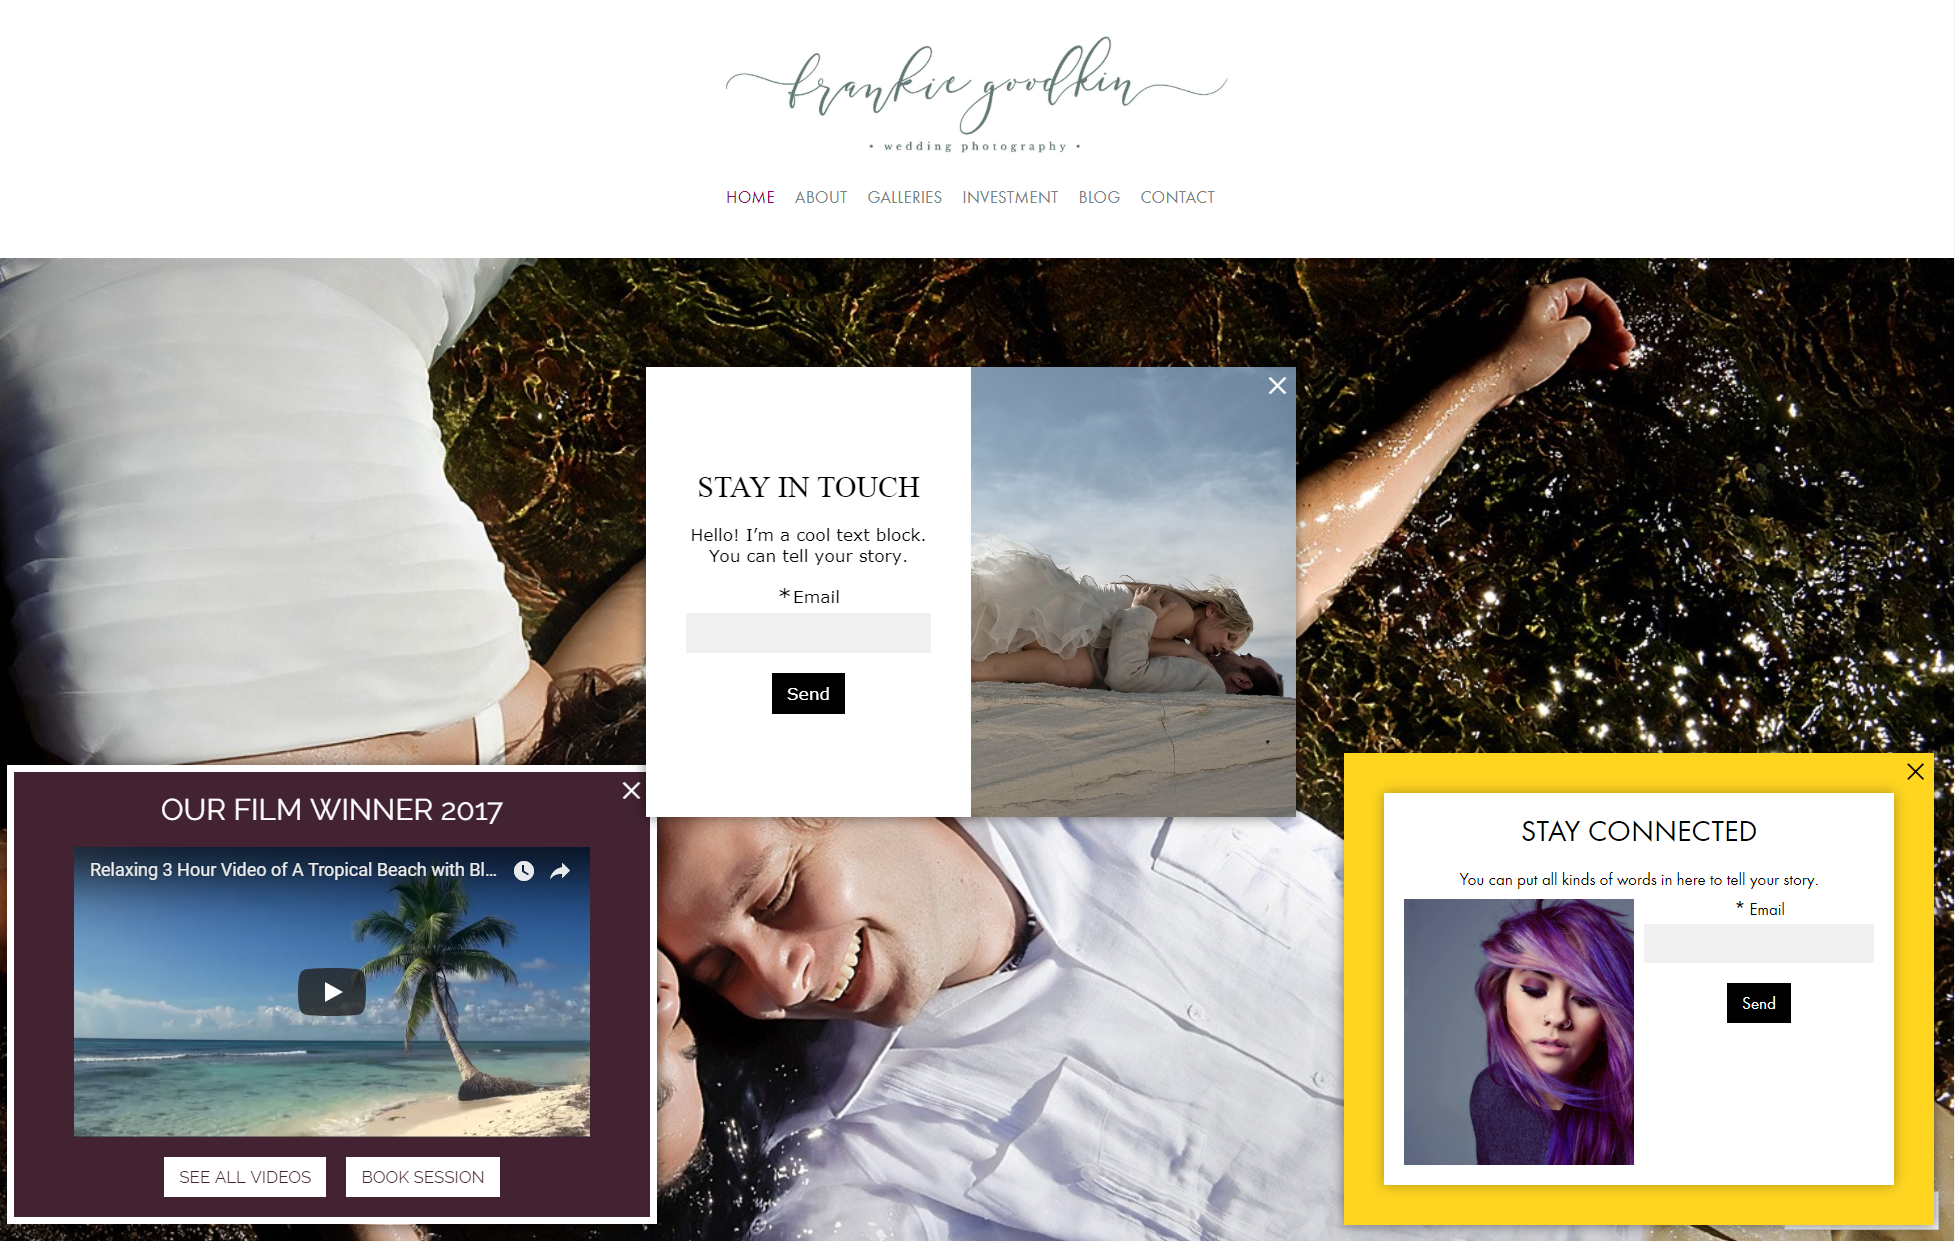
If a pop-up does not have an overlay and is set to all pages in your "publish" settings, the pop-up will follow you from page to page until it is closed.
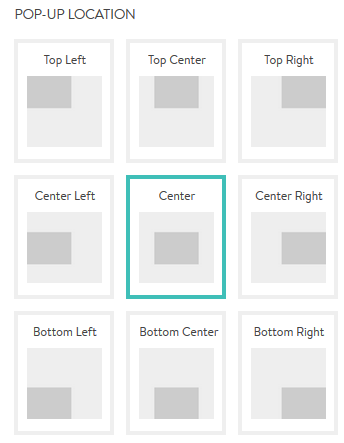
POP-UP LOCATION
You can determine the location on the screen where your pop-up will appear. Since you can have multiple pop-ups active at once, you can avoid them overlapping with one another by choosing a different location for each one.
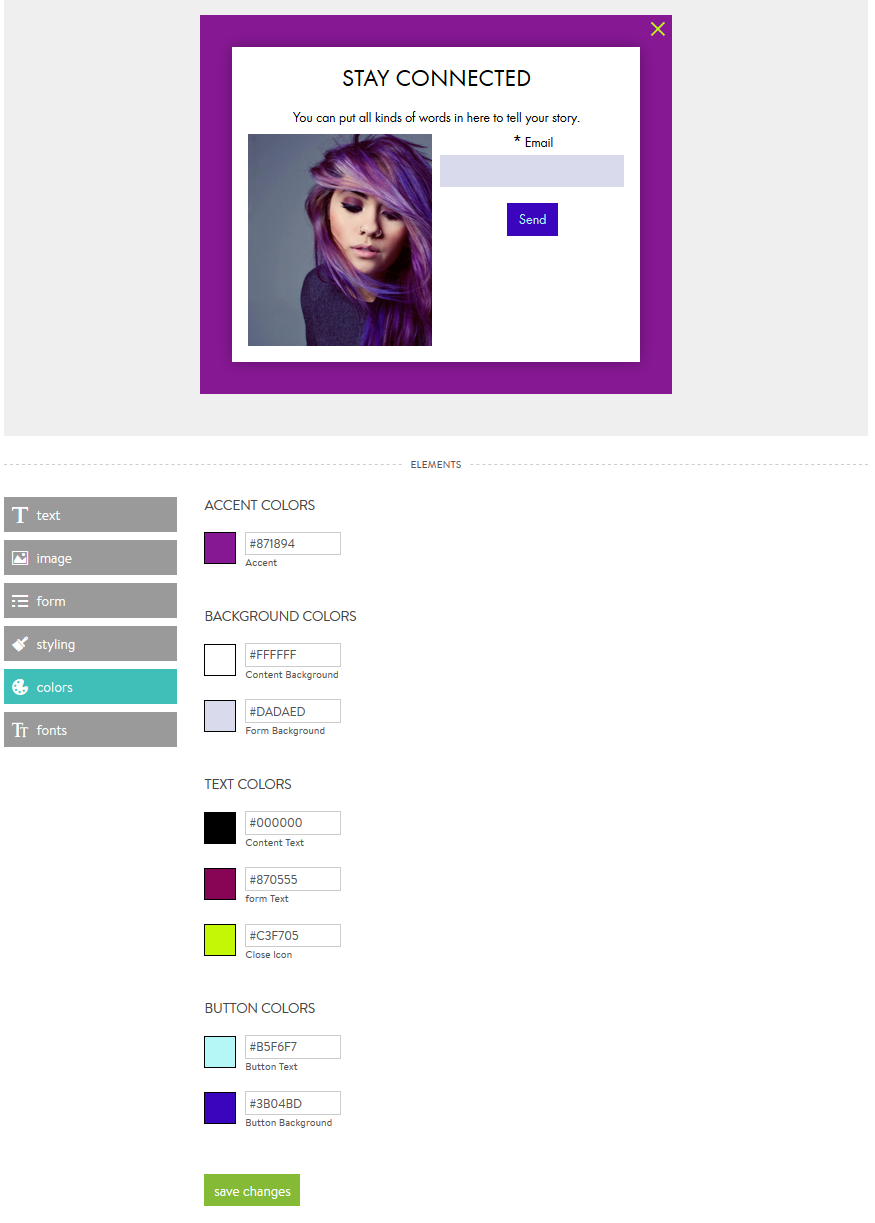
5. COLORS
Colors allows you to be able to customize all of the colors within your pop-up. As you make changes to the colors provided and click save changes, you will see a preview of your final pop-up in the window provided.
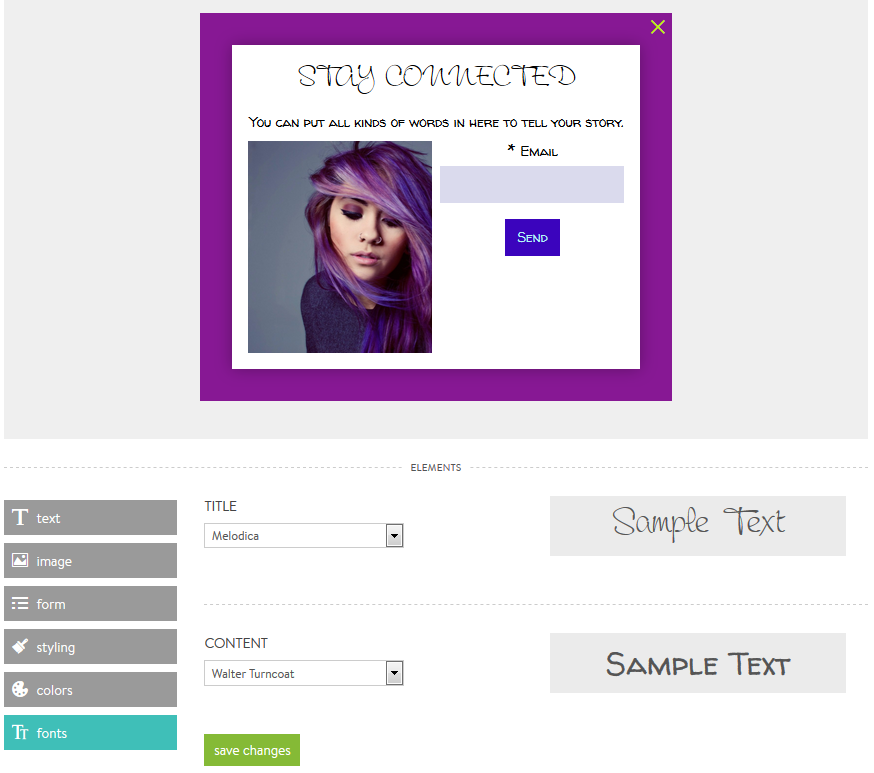
6. FONTS
There are two font areas you can customize for a pop-up and they are the title font and the content font. You can see a preview of what your font will look like to the right of the font selections. Additionally, you will see a preview of your font changes by clicking save changes to apply your font selections.
7. PUBLISHING YOUR POP-UP
When you're ready for the world to see your new pop-up, navigate to the publish button located at the top right of your Pop-up Builder.

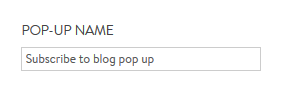
POP-UP NAME
You can change the name of your pop-up in this section to be able to better distinguish one pop-up from another. Only you can see your pop-up names.
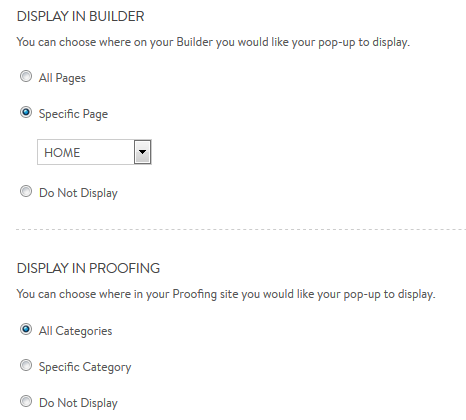
DISPLAY IN BUILDER
You can choose to display your pop-up on all of the pages of your website, a specific page, or not at all.
PRO TIP!
-
A pop-up will only show on a page if the settings allow for it to be seen. If a pop-up is set to all pages, then the pop-up will show on the first page visited by the viewer.
WHEN TO SHOW
You can choose when a visitor sees your pop-up by adjusting the amount of time a visitor is on your site before the pop-up should load. You can choose from 0 seconds, 5 seconds, 10 seconds, or 30 seconds.
PRO TIP!
If you have multiple pop-ups on the same page, the timer will determine when they load on the page.
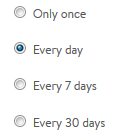
FREQUENCY
This setting will allow you to control how soon a visitor will see your pop-up again after closing it out. You can choose to display your pop-up only once, every day, every 7 days, or every 30 days.
PRO TIP!
If you have a form on your pop-up and it has been completed on a particular browser and submitted, the pop-up will not display again regardless of your frequency settings for the user.
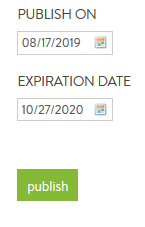
PUBLISH DATE
You can determine when your pop-up will be published and even set it up ahead of time. You can also determine what date you would like the pop-up to discontinue by adjusting the expiration date. Click the publish button to save all of your changes!
0 Comments