If you would like to customize the branding of your forms, rather than utilizing the information found within the main "Branding" area of your account, you can easily do that. First, you will want to go into your Form Editor and click into a form that you'd like to update the branding on, then click the settings icon on the top right, and select "branding":

UPLOAD YOUR LOGO
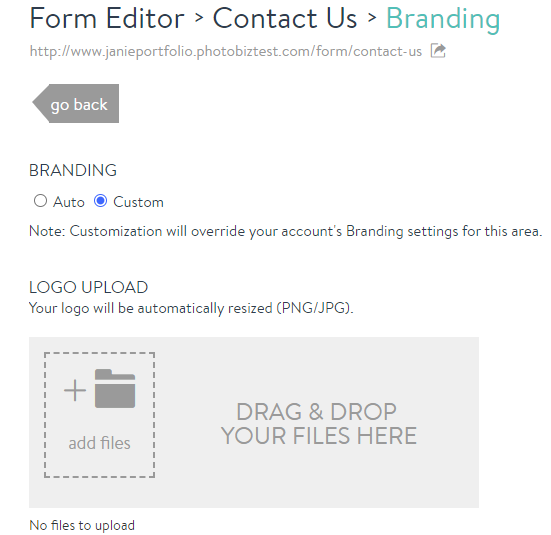
Once you have clicked into the "branding" section of the form, you will be able to customize the branding for this specific form. This includes the options to upload your logo, favicon, customize the accent color, and provide your company information. It's important to remember that in order to customize this information, you select the "Custom" option that is located right above the "Logo Upload" area. After you click the "Custom" option, go ahead and upload your logo as a .png or .jpg file:
UPLOAD YOUR FAVICON AND CUSTOMIZE YOUR ACCENT COLOR
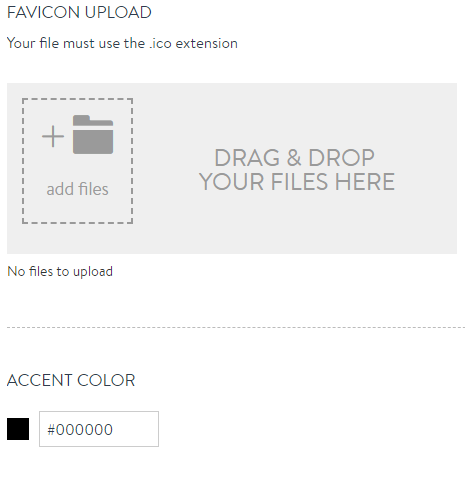
A favicon is a small 16×16 pixel icon that serves as branding for your website. Favicons are found next to anything that identifies your website. This includes bookmarks, tabs, toolbar apps, history results, and search bars. In order to upload your favicon, you will need to make sure that your favicon file is a .ico file.
Your Accent Color controls the background color of system generated buttons, messages and emails. PRO TIP: The button text color is white. Select a darker Accent Color for optimal readability.
UPDATE YOUR COMPANY INFORMATION
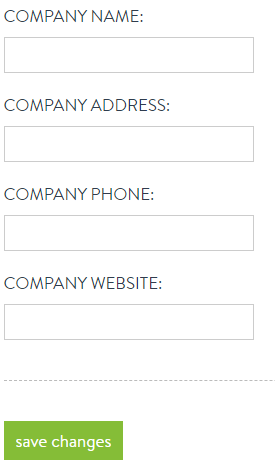
The last section is where you can update your Company Name, Company Address, Company Phone, and Company Website. This information will show up on any automatic system-generated Forms emails and messages.


Leave a comment
0 Comments