Need to share a Form, Mood Board Project, or Blog Post with multiple users via email? We recommend using the Email Marketing tool to share your updates quickly! Your membership also includes 100 free emails that you can send a month! Creating an email is fast and easy, and your clients will love how professional and inviting these invitations are to see your great work, sign contracts, and read your latest blogs. You can also take the guesswork of wondering who has viewed your email out of the equation by having access to view who has opened and clicked through your email or any emails that bounced.
Here's how to make great looking emails and send them to your customers.
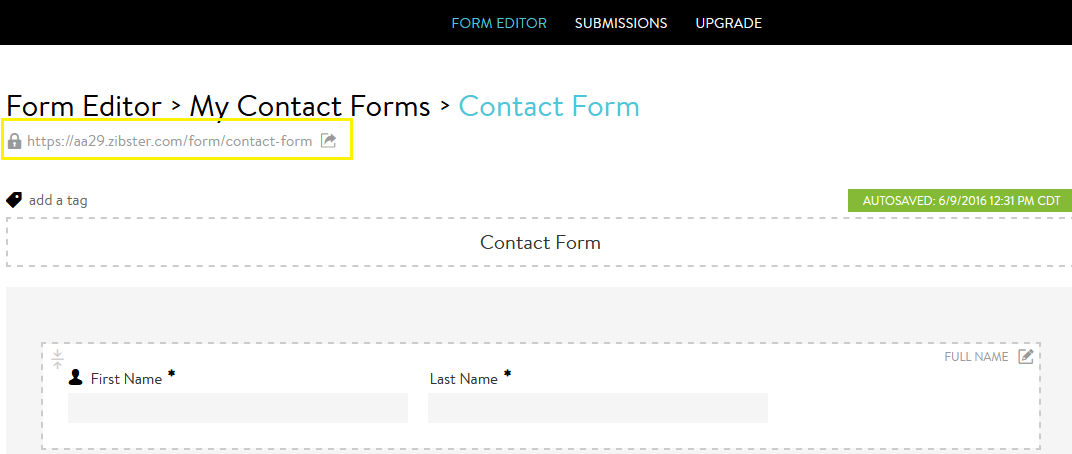
1. Copy the direct link for your Form, Mood Board Project, or Blog Post, which is found at the top left of the control panel when you're viewing the specific Form, Proofing Event or Blog Post.
2. Go to the MARKETING tab on the menu on the left and click on NEW
3. Create your email using the Campaign Builder. Change the name of your campaign to one that makes sense for your future reference.
4. Customize the email you wish to send to your clients by adding text, your logo, and images. Make sure you add a button field to connect to the direct link you copied in Step 1.
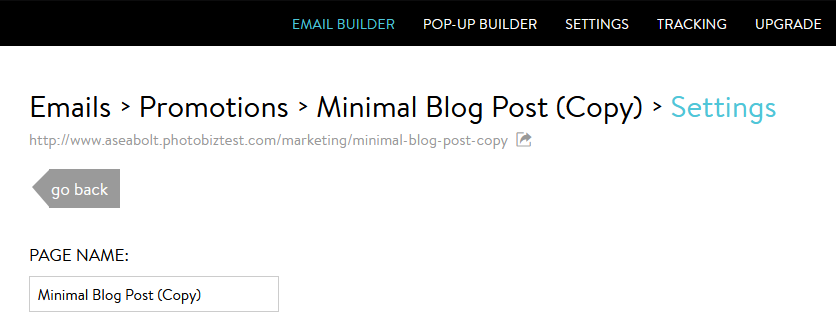
5. If you want to preview what the email will look like before sending, click on the direct link at the top of the campaign builder.
6. Ready to send? Click the SEND button at the top right. For more details on how to send your email, click here.
Let's look at an example of this process by sharing a form:
STEP 1. Copy direct link for the form:

STEP 2. In your account's MARKETING tab, create a new email.

STEP 3. Change the name of your Marketing Campaign for easier reference. This is done by clicking on  , found at the top right of the Email Builder.

STEP 4. Customize your email by adding text, images, changing the colors, etc. For more information on creating and customizing your email, click here. Be sure to add a button to connect to the direct link copied in Step 1 so users can retrieve your content. Click here for help with adding a button.
STEP 5. Preview your email before sending by clicking on the link at the top left of the Campaign Builder.

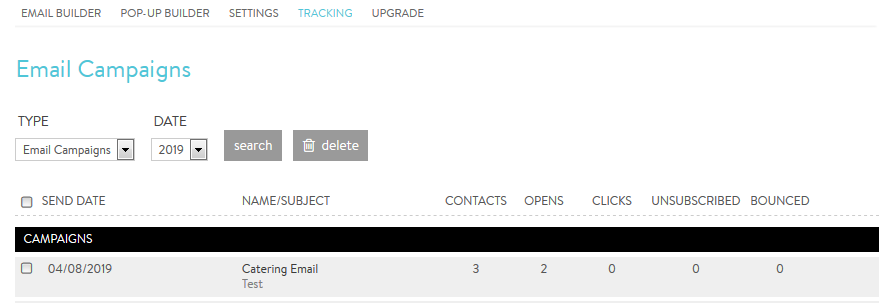
STEP 6. When you're ready to send the email to your clients, click the SEND button at the top right of the Campaign Builder. After your email has been sent, you can also view how many users have opened or clicked through your email in the TRACKING section of Marketing.

For more information on what these metrics mean, please click here.


Leave a comment
0 Comments